
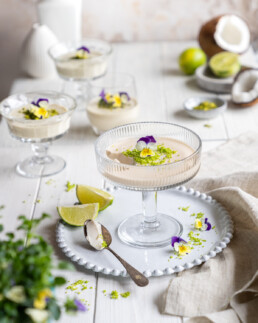
Vegane Limetten-Panna-Cotta
Vegane Limetten-Panna-Cotta
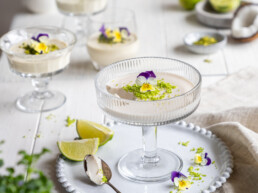
Rezept
Zutaten
-
400 ml Kokosmilch (vollfett, aus der Dose)
-
100 ml Hafer- oder Mandeldrink (für mehr Cremigkeit vegane Sahne)
-
60 g Zucker
-
Abrieb und Saft von 1 Bio-Limette
-
1 TL Vanilleextrakt
-
1,5 gestrichene TL Agar-Agar (ca. 4 g), oder 1 Beutel Agartine (10 g); bei anderen pflanzlichen Geliermitteln die entsprechende Menge für 500 ml Flüssigkeit
-
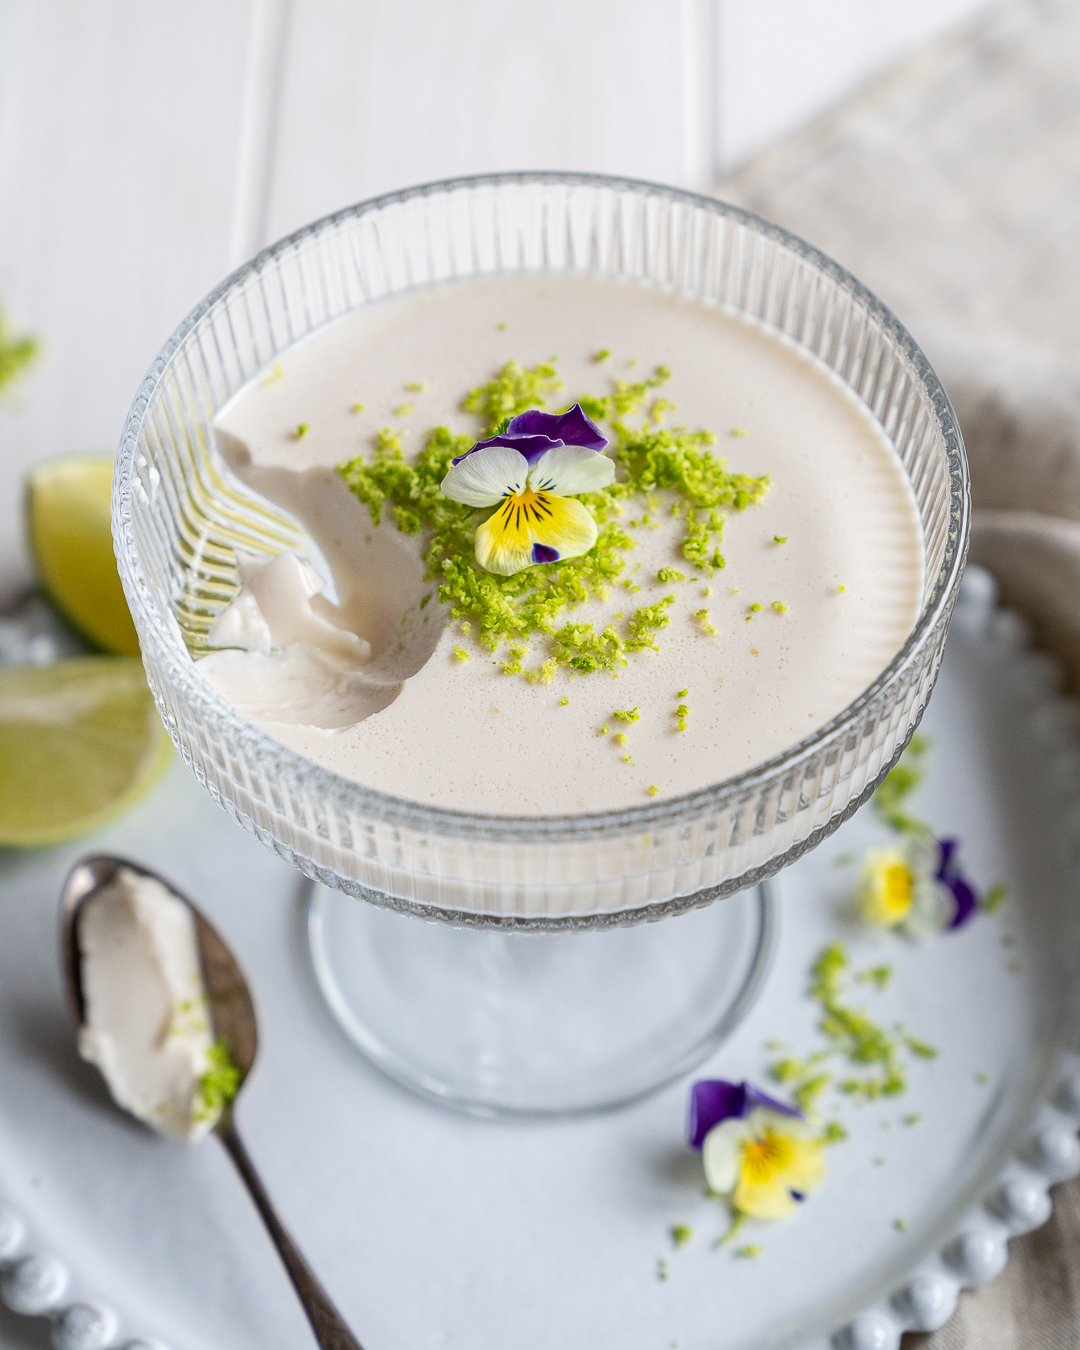
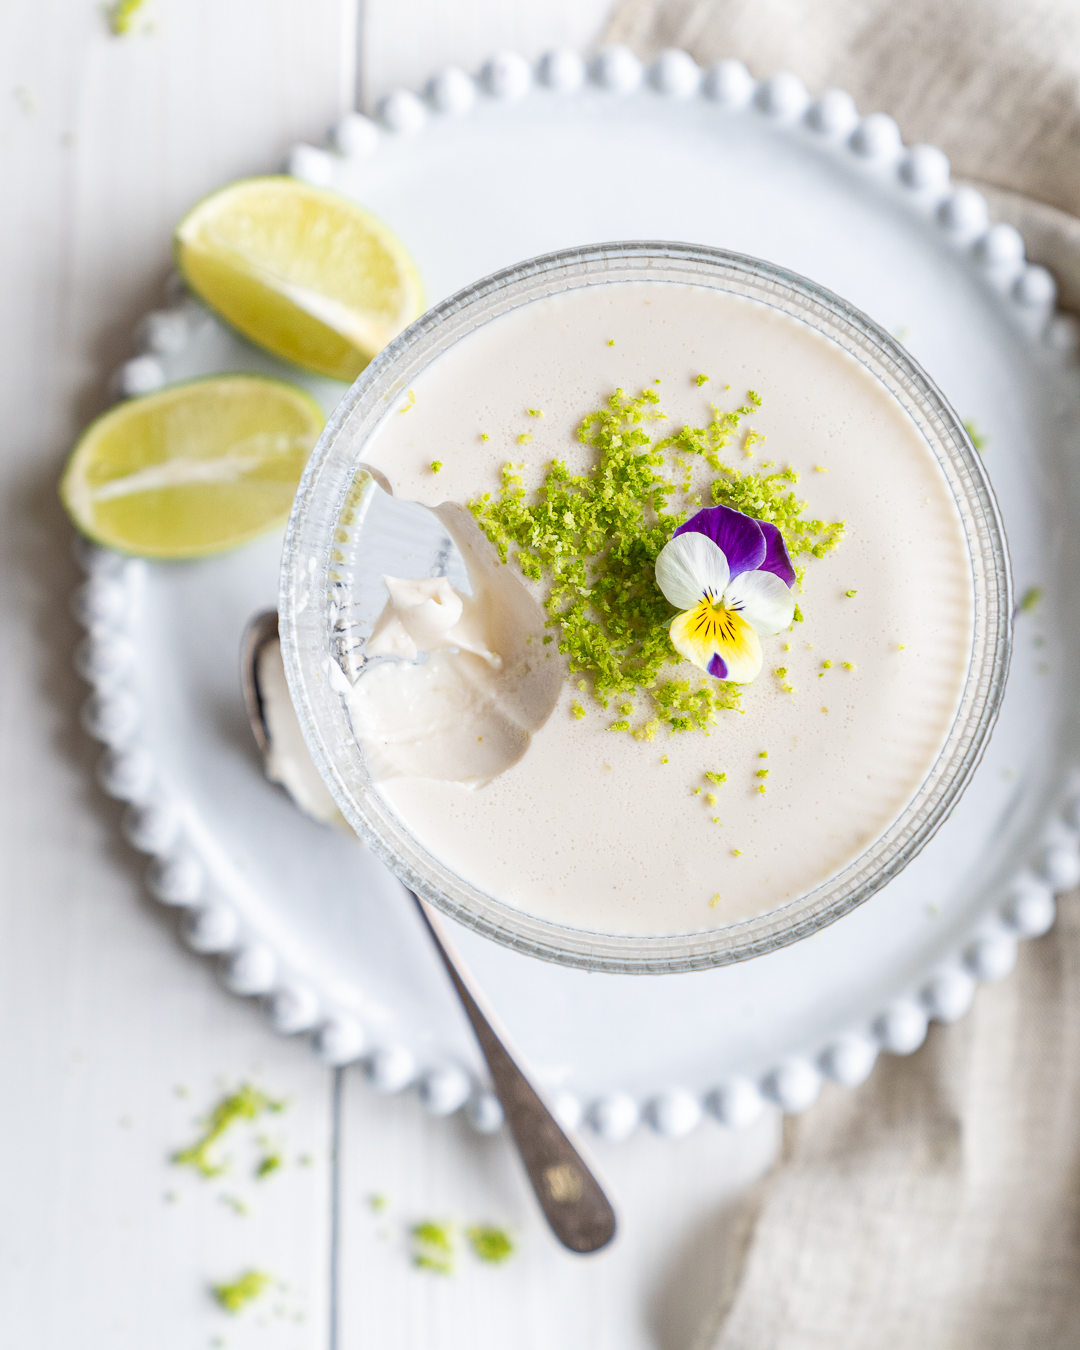
Optional: als Dekoration habe ich Limettenabrieb und Hornveilchen verwendet.
Zubereitung
- Kokosmilch, Pflanzendrink, Zucker, Vanille, Limettensaft und Limettenabrieb in einen kleinen Topf geben.
- Agar-Agar einrühren (wichtig: gut verrühren, bevor erhitzt wird).
- Alles unter Rühren aufkochen. Dann mindestens 2 Minuten sprudelnd kochen lassen (Agar braucht das!).
- Vom Herd ziehen.
- In Gläser füllen. 10 Minuten abkühlen lassen, dann mindestens 2 Stunden im Kühlschrank kühlen.

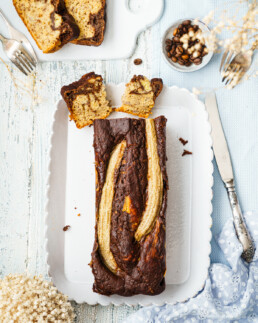
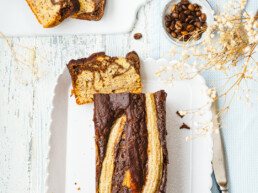
Veganes Schoko-Kaffee Bananenbrot
Veganes Schoko-Kaffee-Bananenbrot
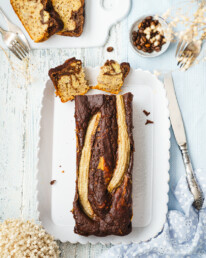
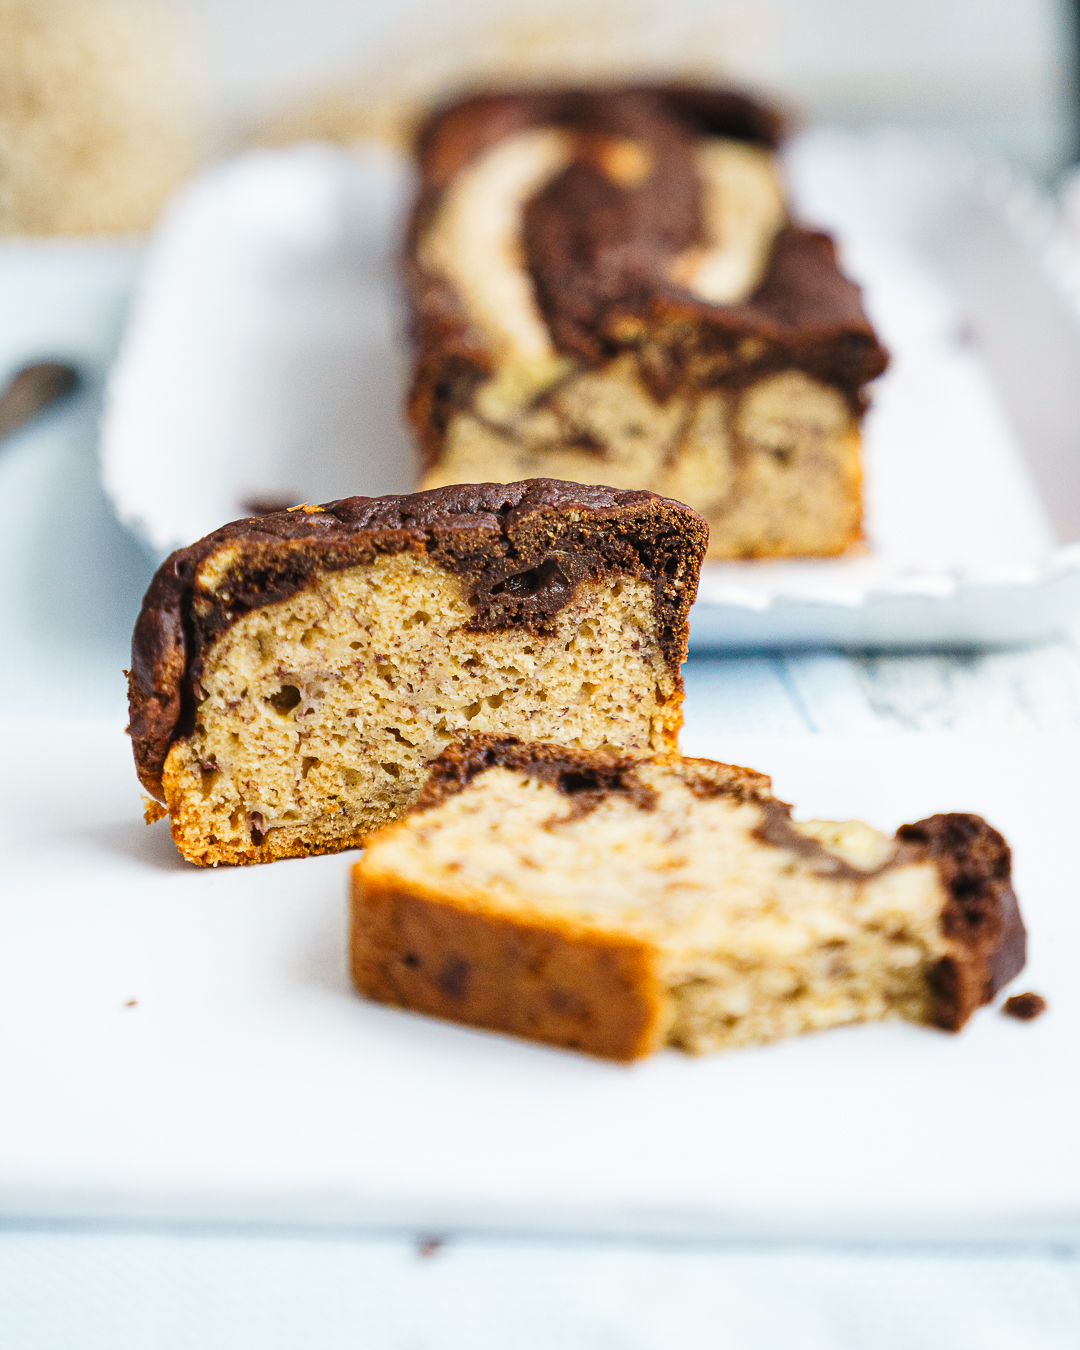
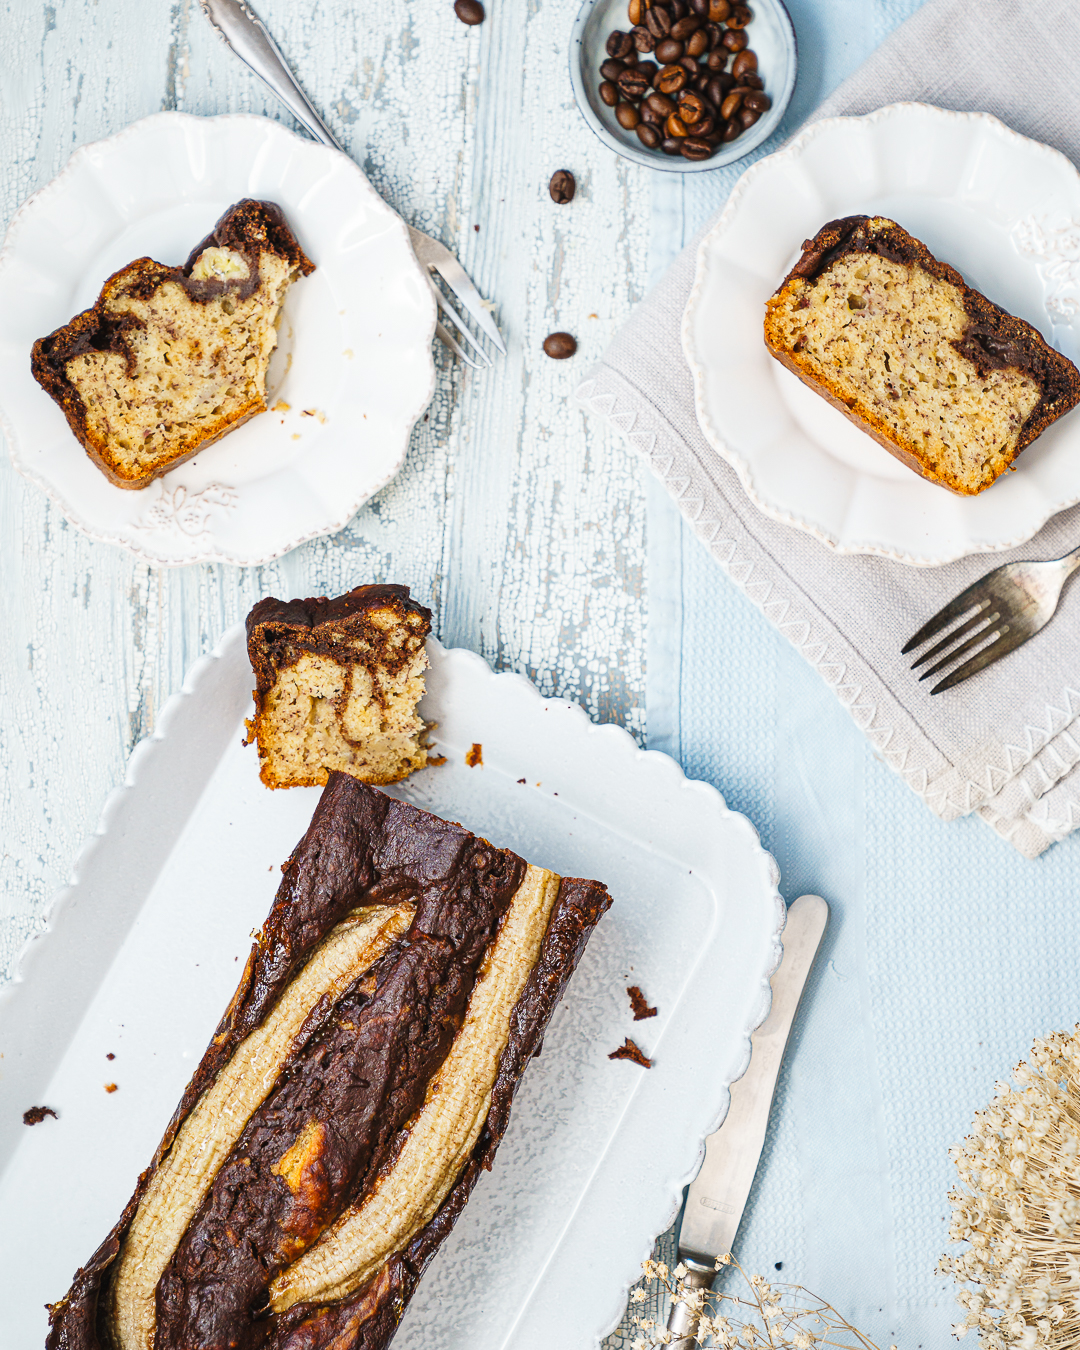
Das ist im Moment mein absoluter Liebling! Dieses Bananenbrot kommt mit wenig zugesetztem Zucker aus – die Süße bringen vor allem reife Bananen. Dazu dunkle Schokolade und Espresso, der den Geschmack schön rund macht.
Einfach gemacht, saftig, nicht zu süß und perfekt zu einer Tasse Kaffee. Zu jeder Tageszeit.
Rezept: Veganes Kaffee–Schoko–Bananenbrot
Zutaten
(1 Kastenform ca. 25 cm)
Basis-Teig:
- 4 reife Bananen
- 80 ml Pflanzendrink (Hafer oder Mandel)
- 70 ml neutrales Öl (z. B. Raps)
- 1 TL Apfelessig
- 250 g Weizenmehl (Type 405 oder 480)
- 1½ TL Backpulver
- ½ TL Natron
- ½ TL Salz
- ½ TL Vanille (Pulver oder Extrakt)
Kaffee–Schoko-Teig:
- 50 g dunkle vegane Schokolade (60–70 %), geschmolzen
- 2–3 TL Instant-Espressopulver (lösliches Kaffeepulver).
- 1 TL Ahornsirup, Agavendicksaft o.ä.
Zubereitung
-
Ofen auf 180 °C Ober-/Unterhitze vorheizen.
Kastenform mit Backpapier auslegen. -
Drei der Bananen mit einer Gabel fein zerdrücken. Mit Pflanzendrink, Öl, Apfelessig und Vanille mischen.
-
In einer extra Schüssel Mehl, Backpulver, Natron und Salz vermengen. Die Mischung zu den nassen Zutaten geben und kurz verrühren (nicht überrühren).
-
⅓ des Teigs in eine extra Schüssel abnehmen. Die vegane Schokolade schmelzen, das Instant-Espressopulver und den Ahornsirup hineinrühren, bis das Pulver sich aufgelöst hat. Diese Schoko-Kaffee-Masse jetzt zügig unter das abgenommene Drittel des Teigs rühren.
-
Form füllen:
erst den hellen Teig, dann den Kaffee–Schoko-Teig. Mit einem Messer oder einer Gabel 2–3 sanfte Swirls ziehen. -
Die übrige Banane längs halbieren, auf den Teig legen.
-
Kuchen im Ofen 50 Minuten backen.
-
Den fertigen Kuchen Mindestens 30 Minuten ruhen lassen, dann anschneiden.

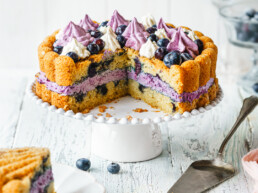
Veganer Blaubeerkuchen mit Blaubeermousse
Veganer Blaubeerkuchen mit Blaubeermousse
Ein klassischer Blaubeerkuchen aus der Charlotte-Form, gefüllt mit einer feinen, luftigen Blaubeermousse.
Die Dekoration bleibt bewusst offen und kann je nach Anlass ergänzt werden. Ein paar Ideen dazu am Schluß. Anstatt einer Charlotte-Form funktioniert genauso eine einfache Springform.
Teil 1: Blaubeer–Rührkuchen
(Charlotte-Kuchenform oder eine Springform)
Zutaten:
- 250 g Weizenmehl
- 130–150 g Zucker
- 10–12 g Backpulver
- 1/2 TL Salz
- Abrieb von 1 kleinen Bio-Zitrone
- 80 ml neutrales Öl
- 220 ml Pflanzenmilch
- 1 TL Vanilleextrakt oder 2 TL Vanillezucker
- 100 g Blaubeeren
- 1 TL Mehl (für die Blaubeeren)
- vegane Butter oder Öl zum Einfetten der Backform.
Zubereitung
1. Backofen auf 170–175 °C vorheizen.
2. Die Kuchen-Form gründlich einfetten. Besonders wichtig bei einer Charlotte-Form!
3. Alle trockenen Zutaten mischen.
4. Flüssige Zutaten kurz unterrühren bis ein Teig entsteht.
5. Blaubeeren waschen, gut abtropfen, in etwas Mehl wälzen. Dann unter den Teig heben.
6. Teig in die Form schichten und 40–50 Minuten backen.
Abkühlen & Stürzen: Kuchen 30 Minuten in der Form abkühlen lassen, dann stürzen.
Wir teilen den Kuchen erst in zwei Hälften, wenn dieser vollständig ausgekühlt ist.
Teil 2: Veganes Blaubeermousse
Zutaten:
- 125 g Blaubeeren
- 3 EL Zucker
- 200 ml vegane Sahne zum Aufschlagen
- 1/2 TL pflanzliche Gelatine / Agar-Agar
- 2 EL Wasser
- 1 TL Vanille
- 1 Prise Salz
Zubereitung
- Blaubeeren mit Zucker 2–3 Minuten köcheln, bis sie Saft ziehen.
- Dann fein pürieren.
- Pflanzliche Gelatine/Agar-Agar mit 2 EL kaltem Wasser glatt rühren, ins Blaubeerpüree geben und schnell einrühren.
- Die Masse nun 1 bis 2 Minuten kochen lassen (sehr wichtig!).
- Vom Herd nehmen, Vanille & Salz einrühren. Püree auf handwarm abkühlen lassen (nicht kalt!).
- Sahne steif schlagen. Erst 2–3 EL der steif geschlagenen Sahne zügig unter das Püree rühren, dann die restliche Sahne vorsichtig unterheben.
- Mousse 60 Minuten kalt stellen, bis sie cremig-standfest ist.
Zusammensetzen
-
Kuchen waagrecht halbieren: mit einem großen Brotmesser waagrecht ansetzen, langsam sägend rundherum arbeiten.
-
Unteren Boden in einen Tortenring oder auf eine Platte legen.
-
Blaubeermousse gleichmäßig aufstreichen.
-
Oberen Boden auflegen, leicht andrücken.
-
Kuchen mind. 2 Stunden kühlen, besser über Nacht.
Hinweise & Tipps
- Im Rezept sind wenige Blaubeeren im Boden = das ist wichtig für einen besseren Schnitt.
-
Agar-Agar immer kurz kochen, sonst bindet es nicht!
-
Vor dem Servieren kann der Kuchen mit Sprühsahne, einigen Blaubeeren oder einfach etwas Puderzucker dekoriert werden.
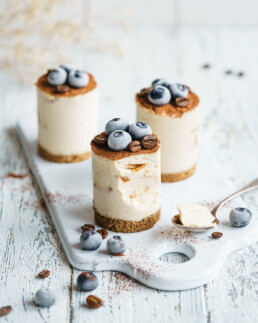
𝐄𝐫𝐝𝐧𝐮𝐬𝐬𝐛𝐮𝐭𝐭𝐞𝐫-𝐊𝐚𝐟𝐟𝐞𝐞-𝐓ö𝐫𝐭𝐜𝐡𝐞𝐧
𝐄𝐫𝐝𝐧𝐮𝐬𝐬𝐛𝐮𝐭𝐭𝐞𝐫-𝐊𝐚𝐟𝐟𝐞𝐞-𝐓ö𝐫𝐭𝐜𝐡𝐞𝐧
Keksboden, Cashewcreme, Espresso und Erdnussbutter.
Klein, nicht zu kompliziert – einfach genau richtig.
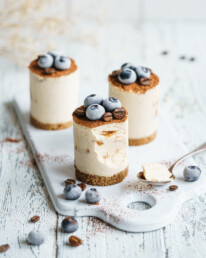
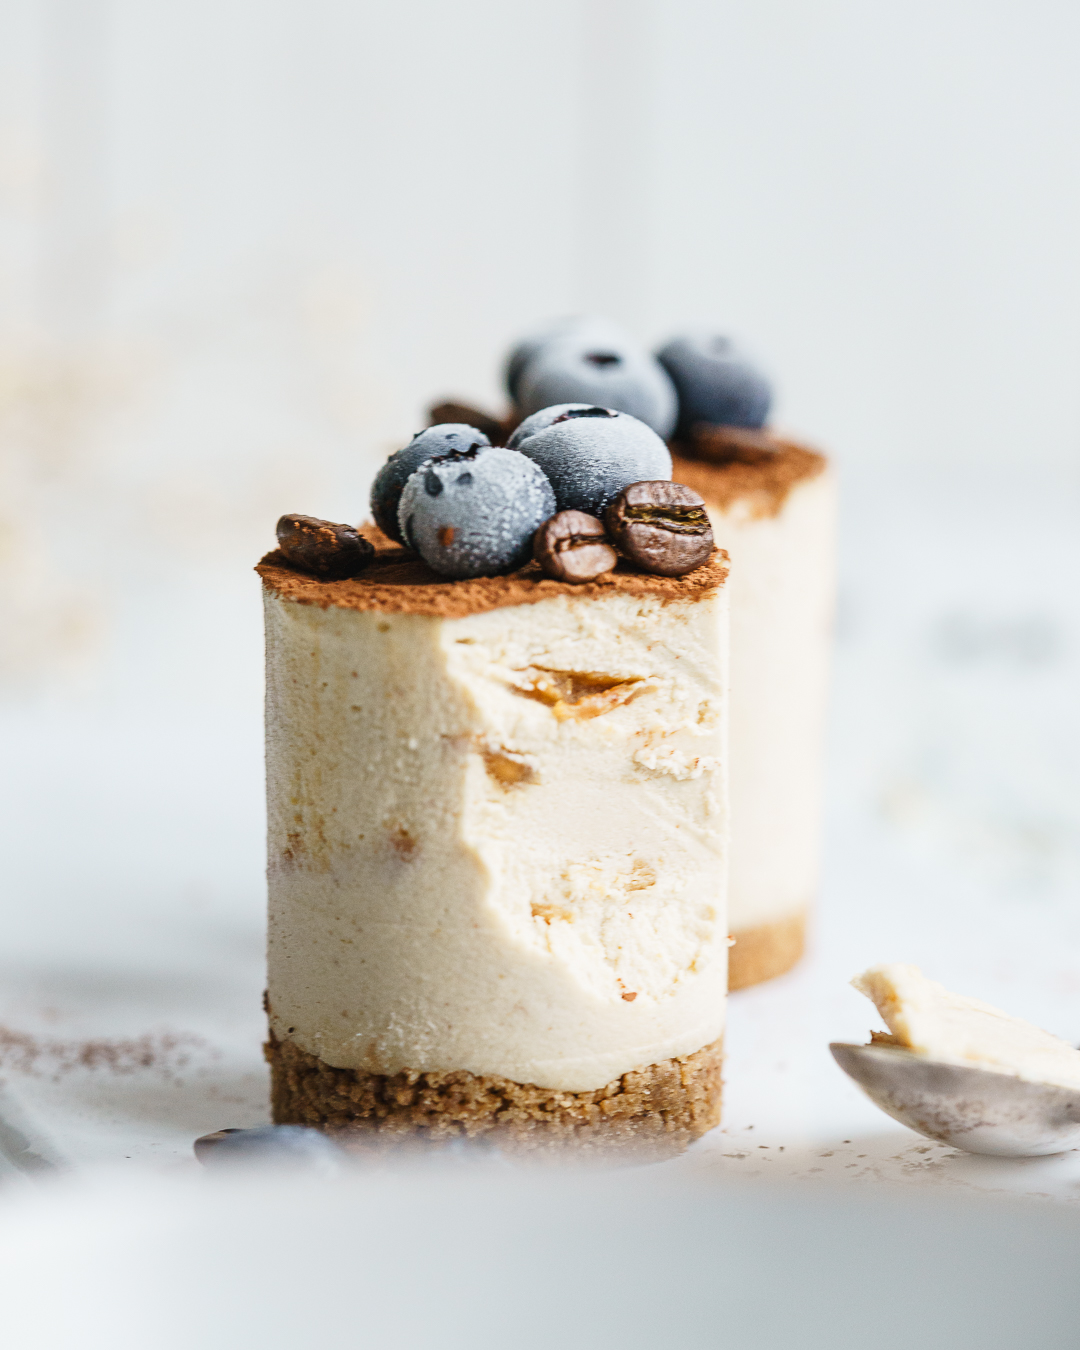
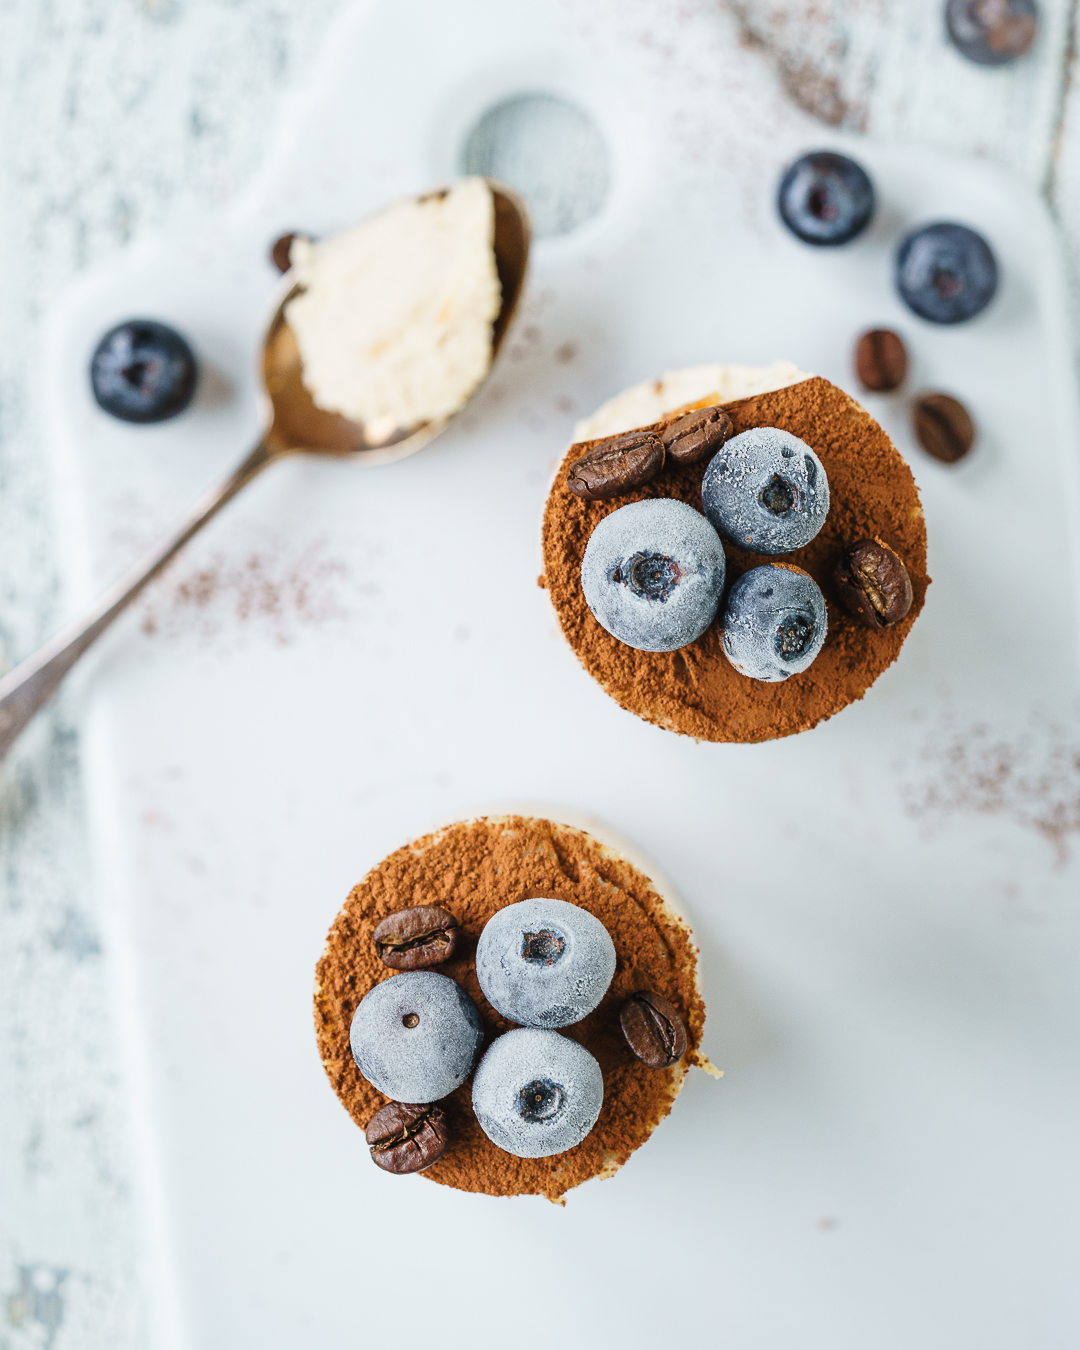
Rezept: vegane 𝐄𝐫𝐝𝐧𝐮𝐬𝐬𝐛𝐮𝐭𝐭𝐞𝐫-𝐊𝐚𝐟𝐟𝐞𝐞-𝐓ö𝐫𝐭𝐜𝐡𝐞𝐧
Zutaten
Für 3 kleine Dessertringe (Ø ca.7 cm)
Keksboden:
- 100 g vegane Kekse (z. B. Haferkekse)
- 40 g vegane Butter (geschmolzen)
Kaffee–Erdnussbutter-Creme:
- 200 g Cashews (über Nacht in Wasser eingeweicht, dann gut abgetropft)
- 35-40 ml starker Espresso
- 40 g Kakaobutter (geschmolzen) oder 50 g vegane Butter in kleinen Stücken
- 50 g Puderzucker
- ½ TL Vanilleextrakt
- 1 Prise Salz
- 1–2 TL Zitronensaft
- 60–80 g cremige Erdnussbutter (leicht erwärmt)
- Topping (optional): z.B. Kakaopulver, Kakaonips, Nüsse, Beeren
Zubereitung
- Boden: Kekse fein zerkrümeln. Mit geschmolzener Butter vermengen. Masse in kleine Dessertringe füllen, gut andrücken und kalt stellen.
- Creme: Alles außer der Erdnussbutter glatt und cremig mixen (mit einem Stabmixer oder leistungsstarken Mixer). Die Erdnussbutter erwärmen (z.B. in der Mikrowelle), dann unterheben – entweder komplett einrühren oder nur grob marmorieren für etwas Struktur.
- Die Creme auf die gekühlten Böden in den Ringen geben und die Törtchen im Tiefkühlfach mindestens 60 Minuten fest werden lassen.
- Zum Lösen den Dessertring außen leicht erwärmen und das Törtchen mithilfe eines Stempels langsam nach unten herausdrücken.
Anschließend im Kühlschrank 30–60 Minuten auftauen lassen.Im Tiefkühlfach sind sie mehrere Tage haltbar. Vor dem Servieren mit z.B. Kakao bestreuen.

Vegane Haferflocken-Waffeln
Vegane Haferflocken-Waffeln, optional glutenfrei
Die Waffeln sind aus Haferflocken gemacht, und funktionieren genauso gut mit glutenfreien Haferflocken.



Rezept: Haferflocken-Waffeln
Zutaten
für 4 Waffeln:
- 150 g Haferflocken (optional glutenfrei)
- 200 ml Pflanzenmilch (Hafer- oder Sojamilch)
- 125 ml pflanzlicher Joghurt
- 1,5 bis 2 EL Zucker
- 2 TL Vanillezucker
- 1 TL Backpulver
- ½ TL Salz
- 2 EL neutrales Öl (z. B. Raps)
Zum Ausbacken:
- neutrales Öl
Zubereitung
1. Haferflocken fein in einem Mixer zu Mehl mahlen.
2. Alle Zutaten zu einem glatten, dickflüssigen Teig verrühren.
3. Waffeleisen gut vorheizen, einfetten und Waffeln goldbraun backen. Falls der übrige Teig in der Zwischenzeit weiter quillt und zu dick wird, einfach noch etwas Pflanzenmilch zugeben.

Cheesecake im Glas mit Mandarine, Mango & Spekulatius
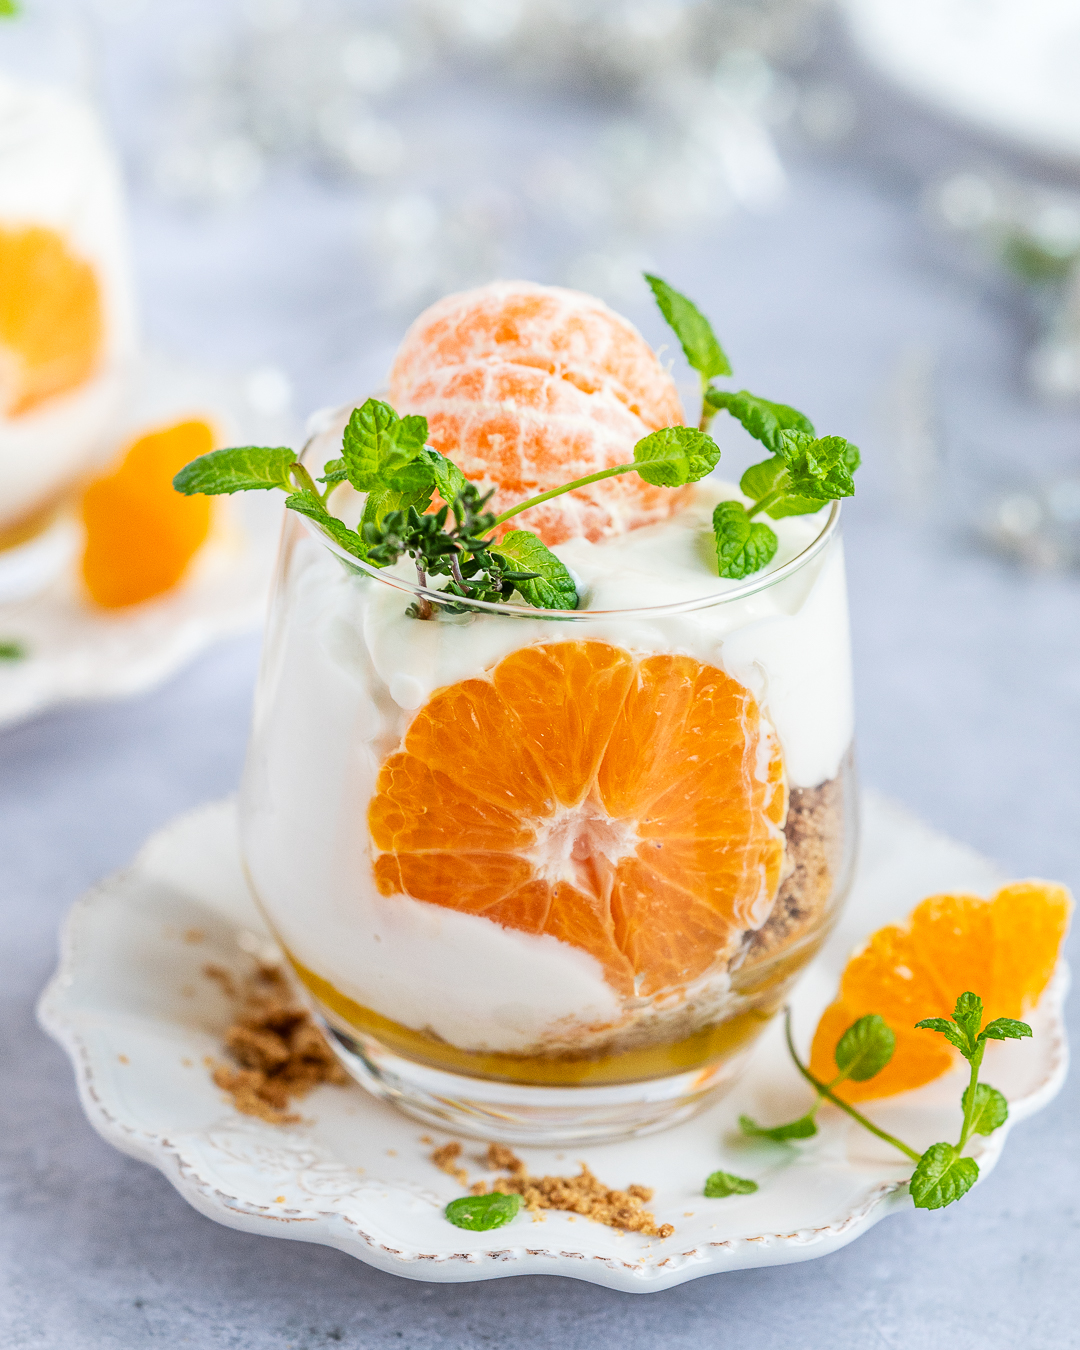
Veganer Cheesecake im Glas mit Mandarine, Mango & Spekulatius
Heute gabt’s ein Cheesecake-Dessert mit Mandarinen. Ganz einfach gemacht und nicht zu schwer.
Passt für mich gerade gut in die kalte Jahreszeit. Und ich finde, es sieht auch noch richtig hübsch aus.
Rezept
Für 4 Gläser
- 2 Mandarinen
- etwas frische Minze
Cheesecake-Creme
- 200 g veganer Frischkäse
- 200 g veganer Joghurt (z.B. Skyr-Style, Kokos- oder Sojajoghurt)
- 1 TL Vanilleextrakt
- 1–2 TL Zitronensaft
- 1–2 TL Ahornsirup oder Agave
Mango-Kompott
- 200 g Mango (frisch oder TK)
- 1–2 EL Wasser
- 1 TL Ahornsirup oder Agave (optional)
- 1–2 Spritzer Zitronensaft
- Prise Vanille oder Kardamom (optional)
Spekulatius-Crumble
- 6–8 Spekulatiuskekse, grob zerbröselt
Zubereitung
Mango-Layer:
Mango mit Wasser 3–4 Min. köcheln, leicht zerdrücken oder pürieren. Zitronensaft & Süße unterrühren, abkühlen lassen.
Cheesecake-Creme:
Frischkäse glatt rühren, Joghurt, Vanille & Zitronensaft unterheben. Nach Geschmack süßen , kalt stellen.
Mandarinen:
1 Mandarine in Scheiben schneiden. Je 1 Scheibe von innen an den Glasrand drücken.
Schichten (pro Glas)
1️⃣ Mango-Kompott
2️⃣ Spekulatius-Crumble
3️⃣ Cheesecake-Creme
4️⃣ Oben: geschälte Mandarine + Minze



Bounty Snowballs
Bounty Snowballs
Eigentlich wollte ich gar nichts Weihnachtliches mehr machen, aber Maronen und Kaffee waren da anderer Meinung ☺️
Hier also mein letztes Dessert zum Ausklingen der Feiertage:
Für die Maronen-Kaffee-Creme habe ich vorgegarte Maronen mit Kokosmilch, frisch gebrühtem Kaffee, Zimt, Agavendicksaft und Vanilleextrakt cremig gemixt. Die helle Schicht besteht einfach aus Kokosjoghurt und Vanille.
Für eine alkoholfreie Variante kann der Kokoslikör einfach weggelassen werden.
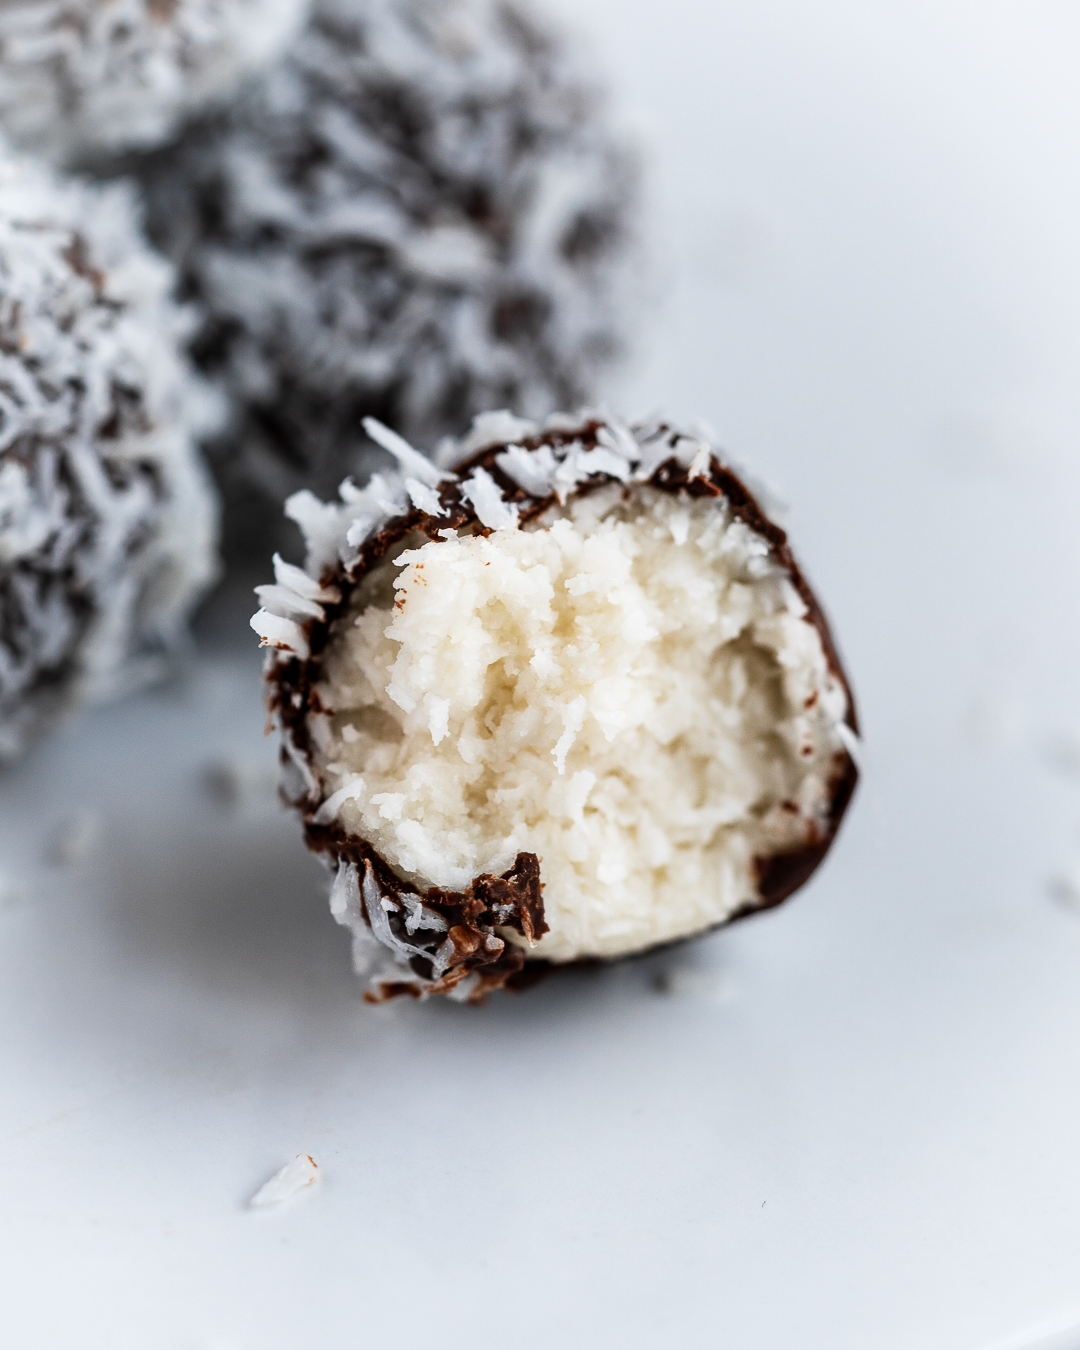
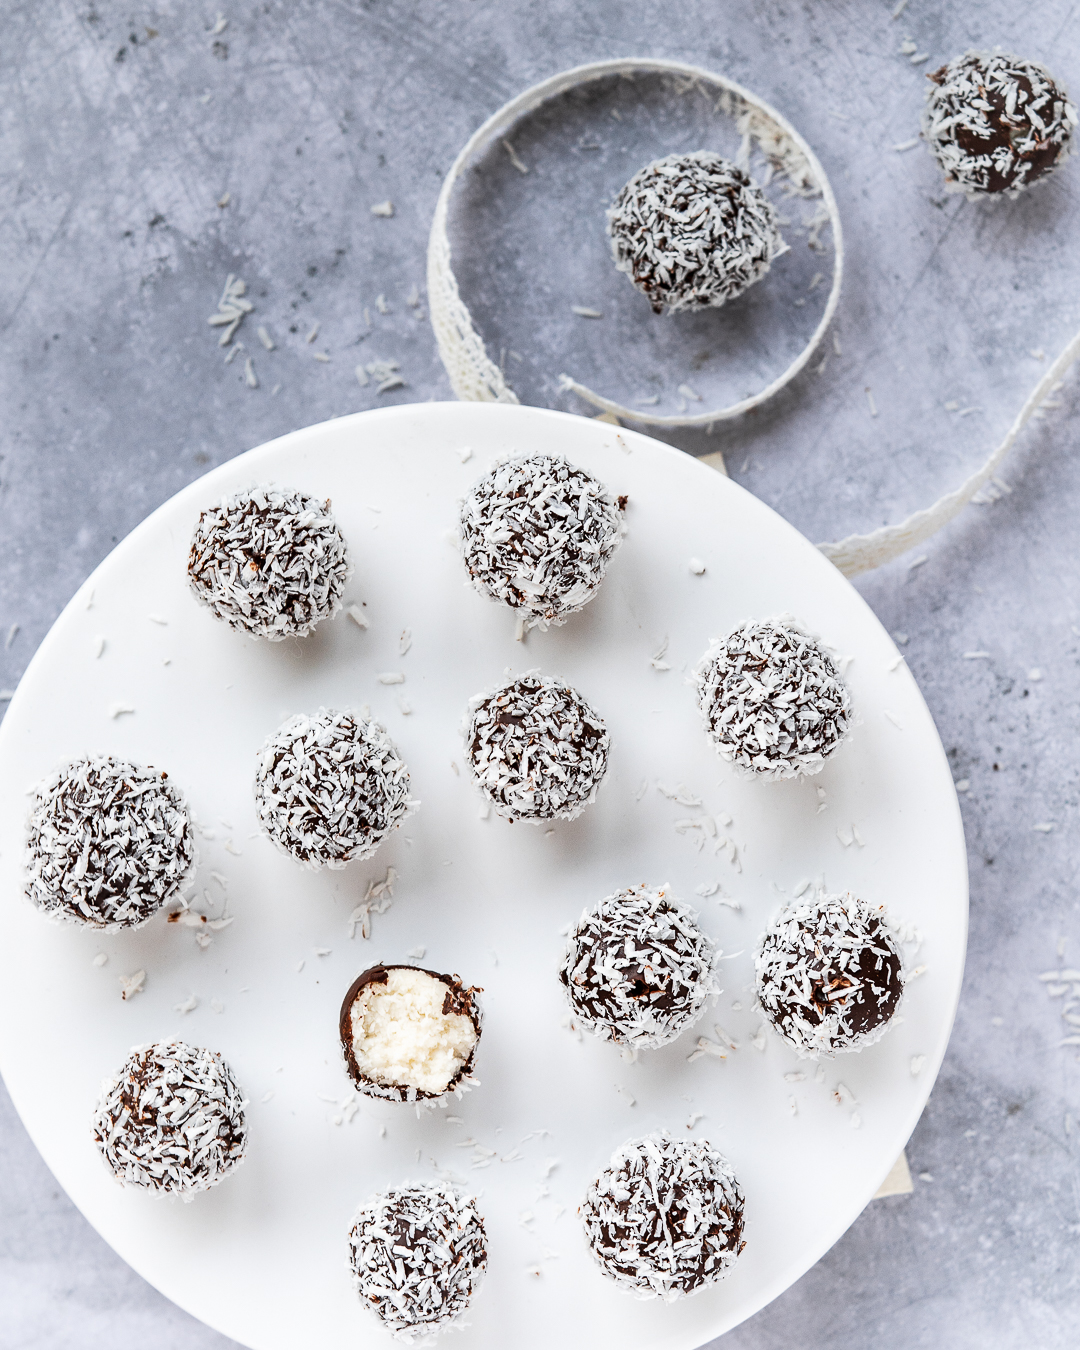
Bounty Snowballs Rezept
Ca. 30 Stück
Zutaten
- 250 g Kokosraspeln
- 1 Päckchen ( 2 EL) Vanillezucker oder 1/2 TL Vanillextrakt
- 1 Dose (400 ml) Kokosmilch, vollfett
- 100 g Zucker
- 4–5 EL Kokoslikör (z.B. Batida Pura Coco, der ist vegan) – kann auch weggelassen werden
- 250 g dunkle Schokolade/Kuvertüre (vegan)
Zum Wälzen:
- 100 g Kokosraspeln
Zubereitung
- Kokosmilch & Zucker aufkochen, dann bei niedriger Hitze 30–40 Min. sanft köcheln, bis die Masse leicht eindickt. Abkühlen lassen.
- Mit Kokosflocken, Likör und Vanille in einer Schüssel mischen und die Schüssel mit Frischhaltefolie abdecken. Über Nacht im Kühlschrank ruhen lassen.
- Die kalte Kokosmasse durchkneten und zu ca. 30 kleinen Bällchen formen und 1–2 Stunden im Kühlschrank ruhen lassen.
- Die Schokoladenkuvertüre im Wasserbad langsam schmelzen. Vom Herd nehmen.
- Bällchen in Schokolade tauchen, sofort in Kokos wälzen. (Dafür die Bällchen z.B. auf einem Zahnstocher aufspießen).
Für schnelleres Festwerden: 30 Min. ins Gefrierfach oder klassisch 1–2 Std. im Kühlschrank
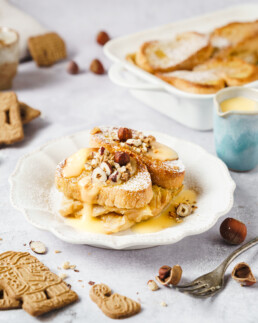
Veganer Ofenschlupfer
Veganer Ofenschlupfer mit Vanillesauce
Altbackene Brötchen? Kein Problem – daraus wird das wohl gemütlichste Dessert des Herbstes:
saftige Apfelstücke und eine cremige Vanillesauce – alles im Ofen goldbraun gebacken – perfekt für graue Tage oder als süßes Highlight nach dem Sonntagsessen.
Tipp: Ein paar Spekulatiuskeks-Brösel oder gehackte Haselnüsse obenauf machen ihn winterlich-knusprig.


Rezept
Zutaten:
- 4 altbackene Brötchen (oder ca. 300g altes Brot/Hefezopf),
am besten leicht trocken, aber nicht steinhart
- 4 Äpfel, geschält, entkernt und in dünne Scheiben geschnitten
- 4 EL Rosinen (optional)
- 500 ml Pflanzendrink/-milch (z. B. Hafer oder Soja)
- 2 EL Vanille-Puddingpulver (entspricht ca. 20g)
- 1/2 TL Vanilleextrakt oder 1/2 TL gemahlene Vanille
- 1TL Zimt (optional)
- 3 EL Zucker ( 2 EL in die Vanillesauce, 1 EL zum Bestreuen)
- Vegane Butter oder Margarine zum Einfetten der Form
- Optional zum Toppen: Puderzucker, Gehackte Haselnüsse oder Spekulatiuskeks-Brösel (für eine winterlich-knusprige Note)
Zubereitung
1. Vorbereiten:
Ofen auf 180 °C Ober-/Unterhitze vorheizen.
Eine Auflaufform (ca. 25 × 20 cm) mit veganer Butter oder Margarine einfetten.
Die Brötchen in ca. 1 cm dicke Scheiben schneiden.
2. Vanillesauce anrühren:
Zucker und Puddingpulver in einer Schüssel trocken vermischen, dann den kalten Pflanzendrink nach und nach unter ständigem Rühren dazugeben.
Mit einem Schneebesen oder Stabmixer glatt rühren, bis keine Klümpchen mehr vorhanden sind.
Vanille und optional Zimt hinzufügen.
Etwa ¼ der Sauce beiseitestellen (für später zum Servieren).
Die restlichen ¾ bleiben ungekocht und werden für den Auflauf verwendet:
3. Tunken & Schichten:
Jede Brotscheibe kurz in die ungekochte Vanillesauce tauchen und beidseitig benetzen.
Die getunkten Scheiben eng aneinander in die Form legen.
Abwechselnd schichten: Brot, Apfelscheiben (und optional Rosinen), wieder Brot usw.
Die letzte Schicht sollte aus Brot bestehen.
Verbleibende Sauce (aus dem Tunken) gleichmäßig über den Auflauf gießen.
1 EL Zucker und ggf. gehackte Haselnüsse darüberstreuen.
4. Backen:
Im vorgeheizten Ofen ca. 30–35 Minuten backen, bis die Oberfläche goldbraun ist und die Mitte saftig wirkt.
5. Vanillesauce fertigstellen:
Während der Ofenschlupfer backt, die beiseitegestellte Sauce kurz aufkochen, bis sie leicht andickt. Warm halten.
6. Servieren:
Den Ofenschlupfer warm servieren, mit Puderzucker bestäuben und die heiße Vanillesauce separat dazureichen.
Nach Belieben mit Spekulatiuskeks-Bröseln bestreuen.

Cranberry-Zimt-Hefeschnecken
Vegane Cranberry-Zimt-Hefeschnecken
Vegan, einfach und super fluffig


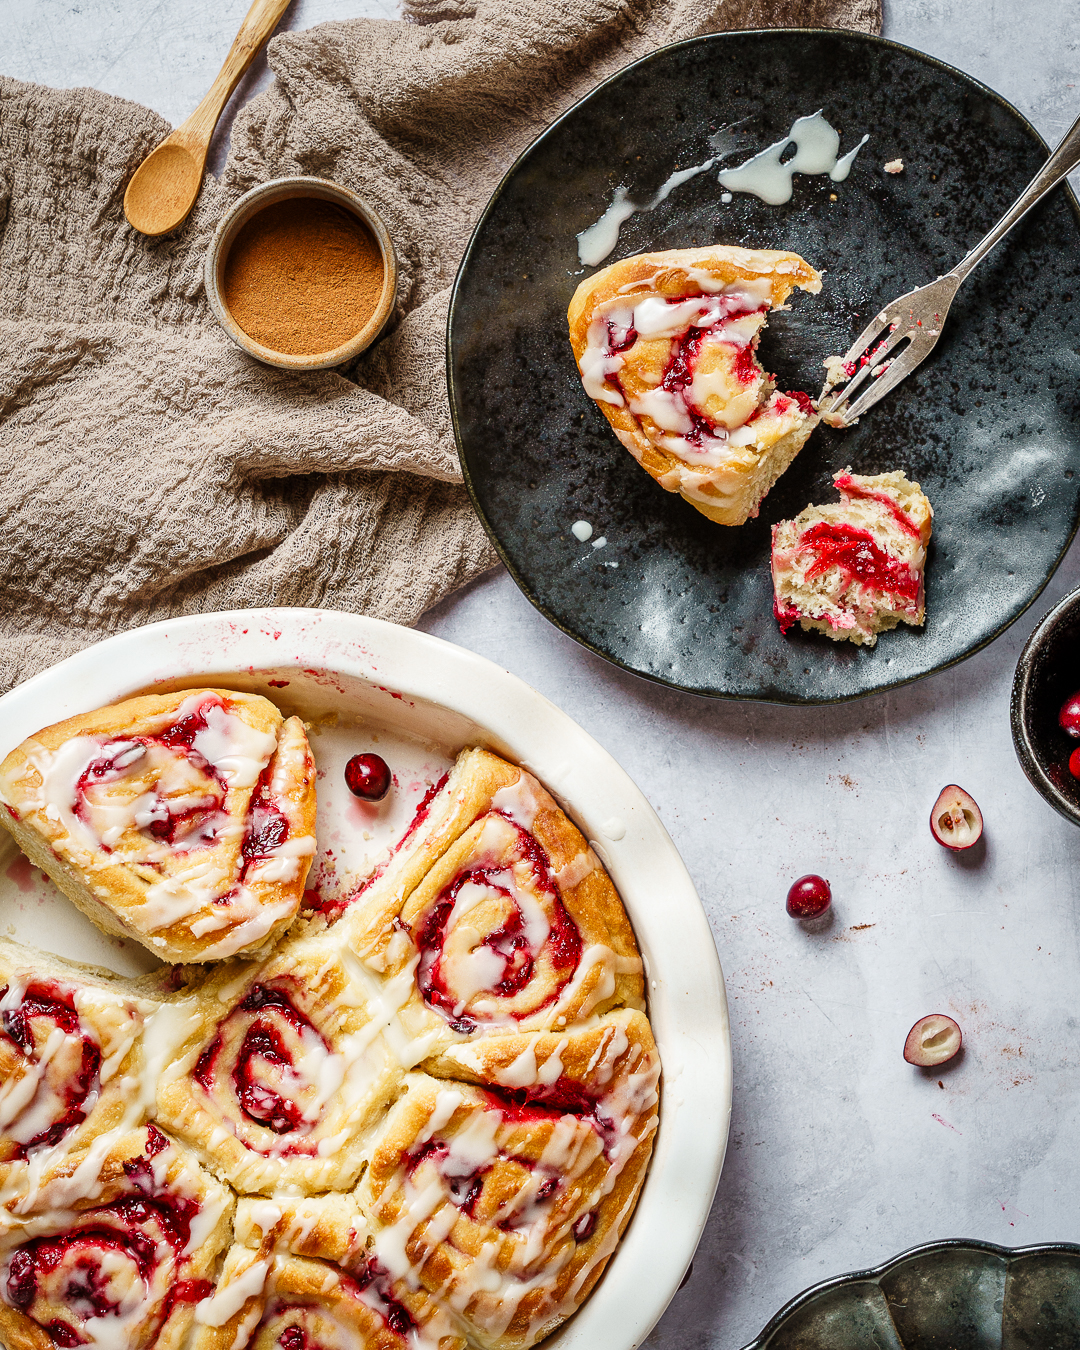

Cranberry Zimt Schnecken Rezept, vegan
Zutaten
Teig
-
500 g Weizenmehl (Type 405) + Mehl für die Arbeitsfläche
-
35 g frische Hefe
-
300 ml warme Pflanzenmilch (z. B. Hafermilch)
-
85 g brauner Zucker
-
1 TL Salz
-
40 g vegane Margarine oder Butter (weich oder flüssig)
Cranberry-Zimt-Füllung:
-
250 g frische Cranberries
-
100 g brauner Zucker
-
60 ml Orangensaft
-
1 EL Orangenabrieb
-
3 EL gemahlener Zimt
-
4 EL vegane Margarine, weich
Guss:
-
75 g Puderzucker
-
1 EL Pflanzenmilch
-
1 EL Orangensaft
Zubereitung
1. Hefeteig vorbereiten
-
Die frische Hefe in einer kleinen Schüssel mit 1 EL Zucker und der lauwarmen Pflanzenmilch verrühren.
-
Etwa 10 Minuten ruhen lassen, bis Bläschen entstehen und die Hefe aktiviert ist.
-
In einer großen Schüssel Mehl, restlichen Zucker und Salz mischen.
-
Die Hefemischung und das flüssige Kokosöl oder die geschmolzene Margarine hinzufügen.
-
Alles zu einem glatten, elastischen Teig kneten.
-
Mit einem Küchentuch abdecken und an einem warmen Ort 1 Stunde gehen lassen, bis sich das Volumen verdoppelt hat.
2. Füllung zubereiten
-
Während der Teig geht, Cranberries, braunen Zucker, Orangensaft und Orangenabrieb in einem Topf erhitzen.
-
Aufkochen, dann die Hitze reduzieren und etwa 10 Minuten sanft köcheln lassen, bis die meisten Cranberries aufplatzen und eine dickliche Marmelade entsteht.
-
Die Füllung abkühlen lassen.
3. Schnecken formen
-
Den aufgegangenen Teig auf einer bemehlten Arbeitsfläche zu einem großen, etwa 1 cm dicken, länglichen Rechteck ausrollen. Wenn der Teig etwas zu weich oder klebrig ist, beim Ausrollen etwas Mehl einarbeiten, bis er sich gut formen lässt.
-
Die weiche Margarine gleichmäßig auf dem Teig verstreichen.
-
Die Cranberry-Füllung gleichmäßig darauf verteilen.
-
Von der langen Seite her zu einer langen Wurst aufrollen und in ca. 5 cm breite Stücke schneiden.
4. Backen
-
Die Schnecken mit Schnittkante nach oben in eine mit Backpapier ausgelegte Form setzen.
-
Mit einem Tuch abdecken und 20 Minuten ruhen lassen.
-
Den Ofen auf 180 °C Ober-/Unterhitze vorheizen.
-
25 Minuten backen, bis sie goldbraun sind.
5. Guss:
-
Für den Guss Puderzucker, Pflanzenmilch und Orangensaft glatt rühren.
-
Die Schnecken leicht abkühlen lassen und mit dem Zuckerguss beträufeln.

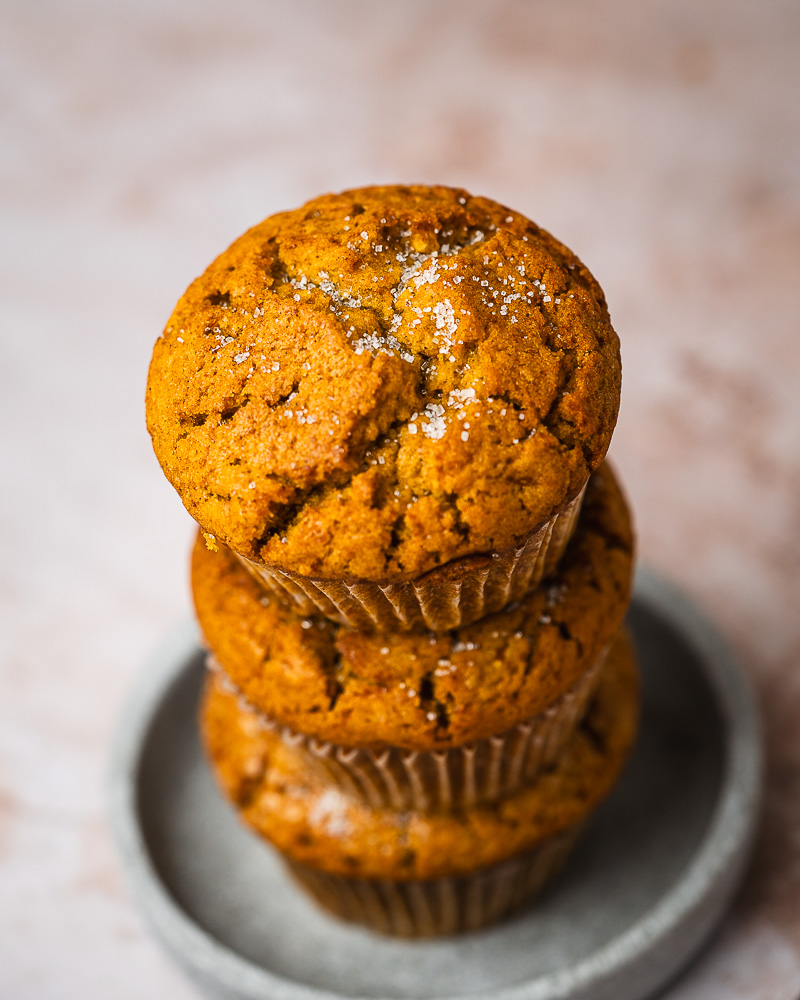
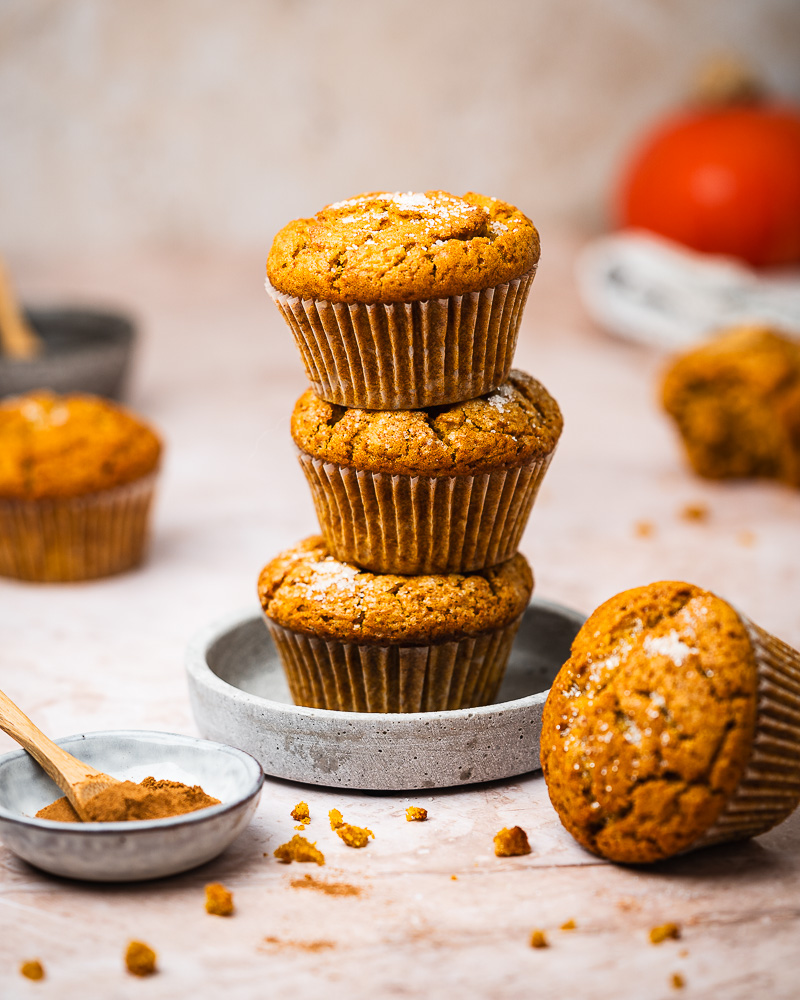
Super fluffige Kürbismuffins
Super fluffige Kürbismuffins
(English Recipe below)
Vegan, so saftig und herbstlich – du wirst sie lieben!

Weil der Kuchen gebacken wird, hat er eine wunderbar feste Konsistenz, bleibt aber dank veganem Joghurt und Frischkäse herrlich saftig. Und das Beste: Er kommt ganz ohne tierische Produkte aus, ist aber trotzdem ein voller Genuss – auch für Nicht-Veganer.
Egal ob zu Ostern, zum Frühlingsbrunch oder einfach als Sonntagskuchen – dieser vegane Oreo-Cheesecake passt einfach immer. Und weil er sich super vorbereiten lässt, eignet er sich auch perfekt für Gäste oder zum Mitbringen.
Rezept für 12 Stück
Zutaten
-
275 g Mehl (Type 405 oder 550)
-
2 TL Pumpkin-Spice-Gewürz*
-
1 TL Zimt
-
1 TL Natron
-
1 TL Backpulver
-
Prise Salz
-
125 g brauner Zucker
-
125 g Zucker
-
375 g Kürbispüree (fertig aus der Dose oder selbst gemacht, siehe Tipp unten)
-
200 ml Pflanzenöl
-
75 ml Pflanzendrink (z. B. Hafer, Soja oder Mandeldrink)
-
2 TL Vanilleextrakt
-
1 TL Apfelessig oder Zitronensaft
-
2–3 EL grober Zucker zum Bestreuen
*Alternativ: 1 ¼ TL Zimt, ½ TL Ingwer, ¼ TL Muskat, Prise Nelken, Prise Piment.
Zubereitung
-
Ofen vorheizen: auf 190 °C Ober-/Unterhitze. Muffinform mit 12 Papierförmchen auslegen.
-
Trockene Zutaten mischen: Mehl, Pumpkin Spice, Zimt, Natron, Backpulver und Salz in einer Schüssel vermengen.
-
Flüssige Zutaten verrühren: Zucker, braunen Zucker, Kürbispüree, Öl, Pflanzendrink, Vanille und Apfelessig glatt rühren.
-
Teig fertigstellen: Mehlmischung unterheben, bis gerade so ein glatter Teig entsteht – nicht zu lange rühren.
-
Backen: Teig in die Förmchen verteilen, mit grobem Zucker bestreuen. 20–22 Minuten backen, 10 Minuten in der Form abkühlen lassen, dann auf einem Gitter vollständig auskühlen.
Tipp – Kürbispüree selbst machen:
375 g geschälten, gewürfelten frischen Kürbis (z. B. Hokkaido) mit 3 EL Wasser in einem Topf mit halb aufgelegtem Deckel weich kochen (ca. 15- 20 Minuten). Dann fein pürieren und kurz etwas abkühlen und etwas ausdampfen lassen. Die Konsistenz sollte etwa wie Apfelmus sein – weich, aber nicht flüssig!
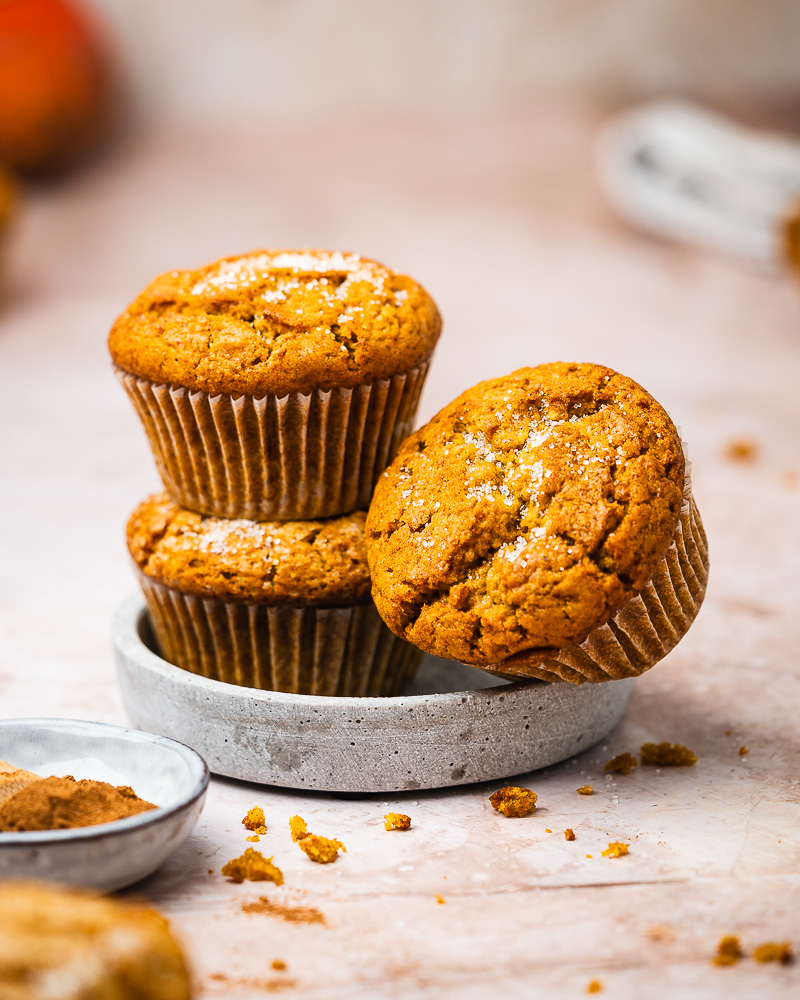

Super Fluffy Pumpkin Muffins (vegan)
Makes about 12 muffins
Ingredients
-
275 g (about 2¼ cups) all-purpose flour
-
2 tsp pumpkin pie spice*
-
1 tsp cinnamon
-
1 tsp baking soda
-
1 tsp baking powder
-
pinch of salt
-
125 g (½ cup + 2 tbsp) light brown sugar
-
125 g (½ cup + 2 tbsp) granulated sugar
-
375 g (about 1½ cups) pumpkin purée (canned or homemade, see tip below)
-
200 ml (about ¾ cup + 1 tbsp) vegetable oil
-
75 ml (about ⅓ cup) plant-based milk (such as oat, soy, or almond milk)
-
2 tsp vanilla extract
-
1 tsp apple cider vinegar or lemon juice
-
2–3 tbsp coarse sugar, for sprinkling
*Or make your own: 1¼ tsp cinnamon, ½ tsp ginger, ¼ tsp nutmeg, a pinch of cloves, and a pinch of allspice.
Method
-
Preheat the oven to 190 °C / 375 °F. Line a 12-cup muffin tin with paper liners.
-
Mix the dry ingredients: In a bowl, whisk together flour, pumpkin pie spice, cinnamon, baking soda, baking powder, and salt.
-
Combine the wet ingredients: In a large bowl, whisk together both sugars, pumpkin purée, oil, plant-based milk, vanilla, and apple cider vinegar until smooth.
-
Finish the batter: Add the dry mixture and fold in gently until just combined — do not overmix.
-
Bake: Divide the batter evenly among the muffin cups, sprinkle with coarse sugar, and bake for 20–22 minutes. Let cool in the pan for 10 minutes, then transfer to a rack to cool completely.
Tip – Homemade Pumpkin Purée
Peel and cube 375 g (about 13 oz) fresh pumpkin (such as Hokkaido or red kuri). Add 3 tbsp water to a saucepan, cover partially with a lid, and cook over medium heat until soft (about 15–20 minutes).
Mash or purée until smooth, then let it cool and steam off slightly. The consistency should be similar to applesauce — soft but not watery!